|
Fly of the Month Bob Ireton brings together his experience in fly fishing, aquatic entomology, and knowledge of fly tying techniques and materials, to design and tie durable and effective flies. |

|
![]()
Volume 3, Issue 12
December 2002
![]()
Royal Wulf
Fly and Text by Bob Ireton
Photography by Bob Kimsey and Bob Ireton
Lee Wulf was born in Valdez, Alaska, in 1905. He loved being around water from the start, and began fishing around age two. At age nine, his father gave him a fly fishing outfit. He soon lost the few flies that came with the outfit, and out of necessity, started tying flies by holding the hook in his fingers, and using any materials he could find that would work. He would try to imitate flies pictured in the catalogs. He would continue to tie his flies by holding the hook in his fingers instead of a vice his entire life. Lee felt that he could tie flies faster and just as securely as if they were tied in a vice.
In the following years Lee would move to New York, California, Paris, and back to New York. His expertise in fly fishing and tying developed greatly during this time. It was around 1931 that the 'WULF' flies were developed, such as the Grizzly Wulf, the Black Wulf, the Brown Wulf, the Blonde Wulf, and the Royal Wulf. Lee was active in the sport his entire life, and is an American legend.
The Royal Wulf was developed to float well on rough water. It can be a little difficult to tie, considering all that is going on to tie it. Materials for the body and hackle are pretty standard; brown hackle, peacock herl, and red floss. For the tail, you can use moose body hair, deer or elk body hair, and for the wings, calf tail or body hair, deer body hair, or kid goat body hair. If you like, try tying this fly without using a vice. Personally, I am sticking with my trusty vice!
MATERIALS
Hook - TMC 100, Dai-Riki 300, Daiichi 1100, Mustad 94840, Orvis 1509 Size 8-20
Thread - Black 6/0 for larger sizes, and 8/0 for smaller sizes.
Wing - White calf body hair.
Tail - Moose body hair.
Body - Peacock herl and red floss.
Hackle - Coachman brown dry fly hackle.
TYING STEPS
|
1 - Secure the hook properly in the vice, and pinch down barb, if desired. Lay on a thread base from just behind the hook eye, rearward to above the hook barb. Cut an appropriate sized clump of the winging material. Pull or comb out the underfur and short fibers, and align the tips of the hair in a stacker. Bring thread loosely forward to a point 1/3 hook shank length behind hook eye. Lay wing material on top of hook shank, so tips are facing forward, and the wing length is the length of one hook shank. Tie in at the 1/3 shank location. After securing the wing material with several wraps of thread, trim the butt section with a sloping cut, and wrap the thread rearward with close, tight wraps. Tie a half hitch. |
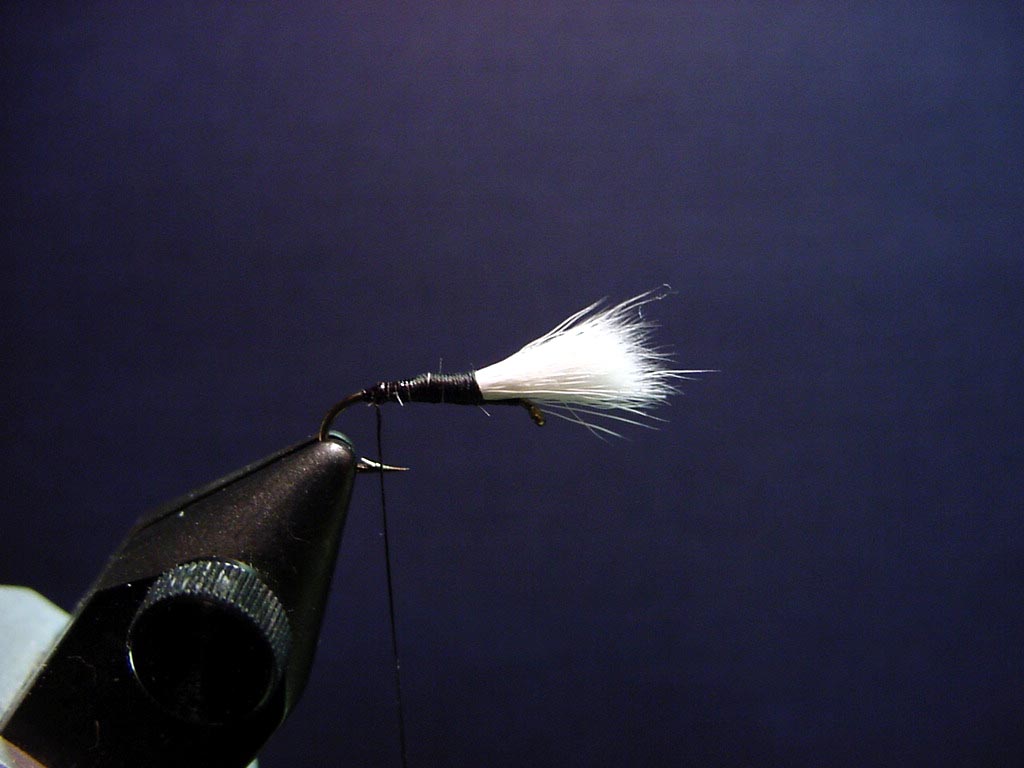
click on picture for larger view |
| 2 - Lift the wing upright, and tie some wraps of thread against the front of the wing base to hold the wings up. Using the bodkin, or whatever is handy, divide the wing into two equal amounts. Now separate the wing fibers with the thread, using figure eight wraps. Then wrap each wing base with 5-6 wraps of thread. Tie a half hitch. When you have the wings completed, put a couple of drops of head cement between the wings. | 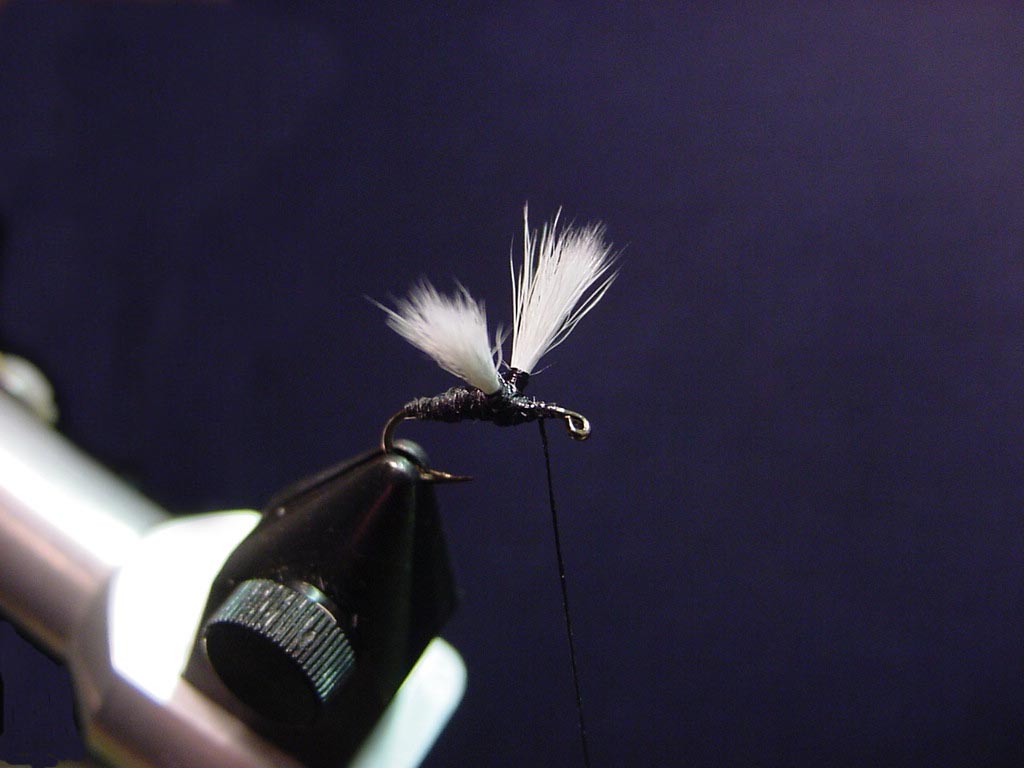 |
|
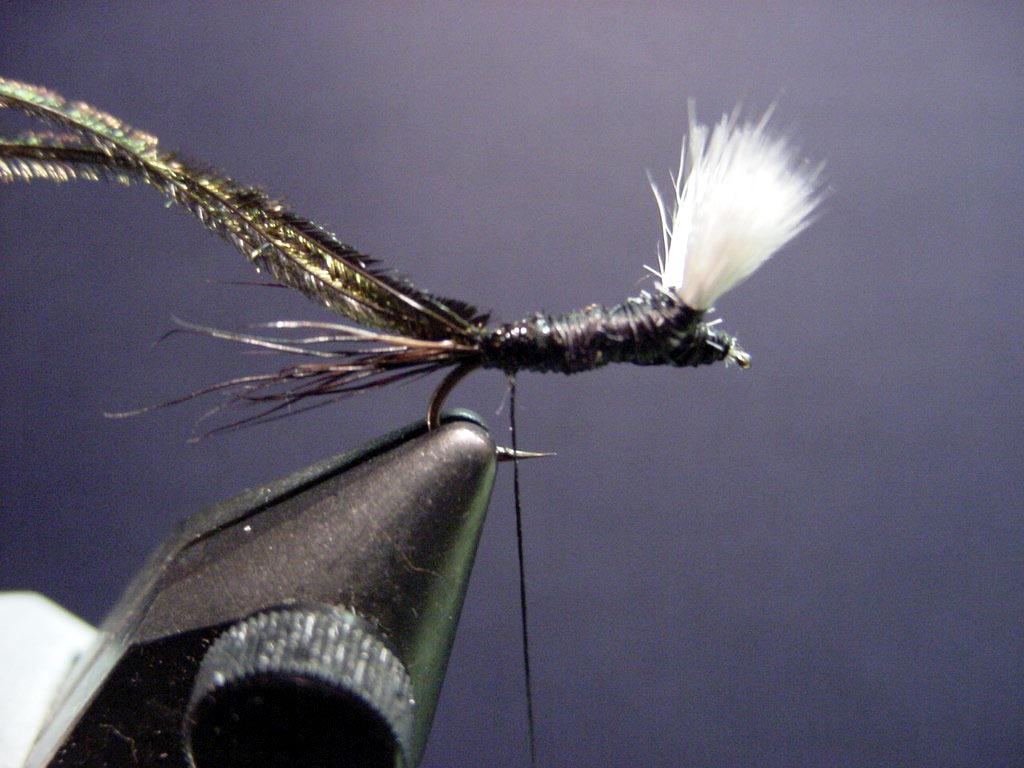
3 - Select some moose body hair, and remove the underfur. Stack the hair in a stacker so the tips are even. Lay the stacked bunch of hair on top of the hook shank with the tips facing rearward, and tie in so length is one hook shank length. Don't use too much pressure where the thread holds the hair next to the final wraps at the terminal end, or the hair will flair. Trim the butts with a sloping cut, and wrap the thread forward to cover the butts and form a smooth underbody. Tie a half hitch. Now tie in several strands of peacock herl just forward of the tail.
|
 |
|
4 - When tying with peacock herl, it looks best if you palmer it alone, but it is not very durable. By tying the herl in a dubbing loop, it won't look as nice, but will be much more durable. This can be your choice. Whichever method you choose, make a band of the herl. As for spacing, you want the herl/floss bands to be even, leaving space behind the wing for the hackle. Tie off the herl, and tie in the red floss. Bring the thread forward while trapping the herl beneath the thread. Tie a half hitch.
|
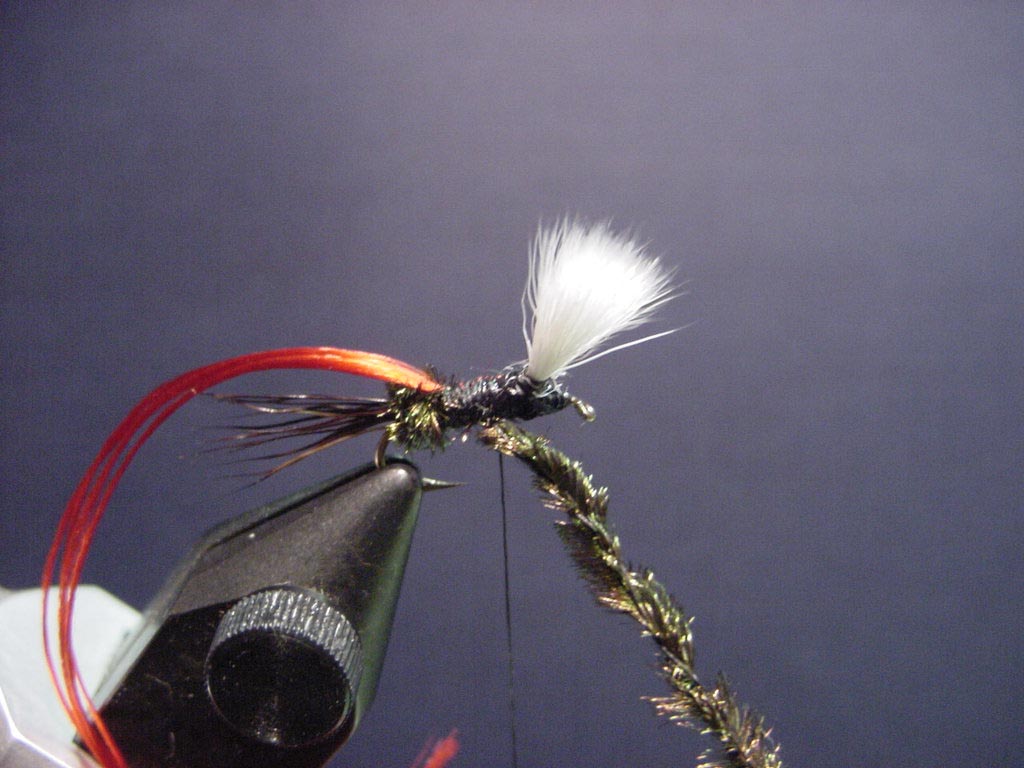 |
| 5 - Palmer the red floss forward to form the center band. Tie off, trim butt, and half hitch. Bring thread forward, stopping where the herl band will end. Palmer the peacock herl forward to form the band. Tie off, trim butts, and half hitch. Now select a hackle feather, prepare it, and tie it in behind the wing. Half hitch. Bring thread forward of the wings. | 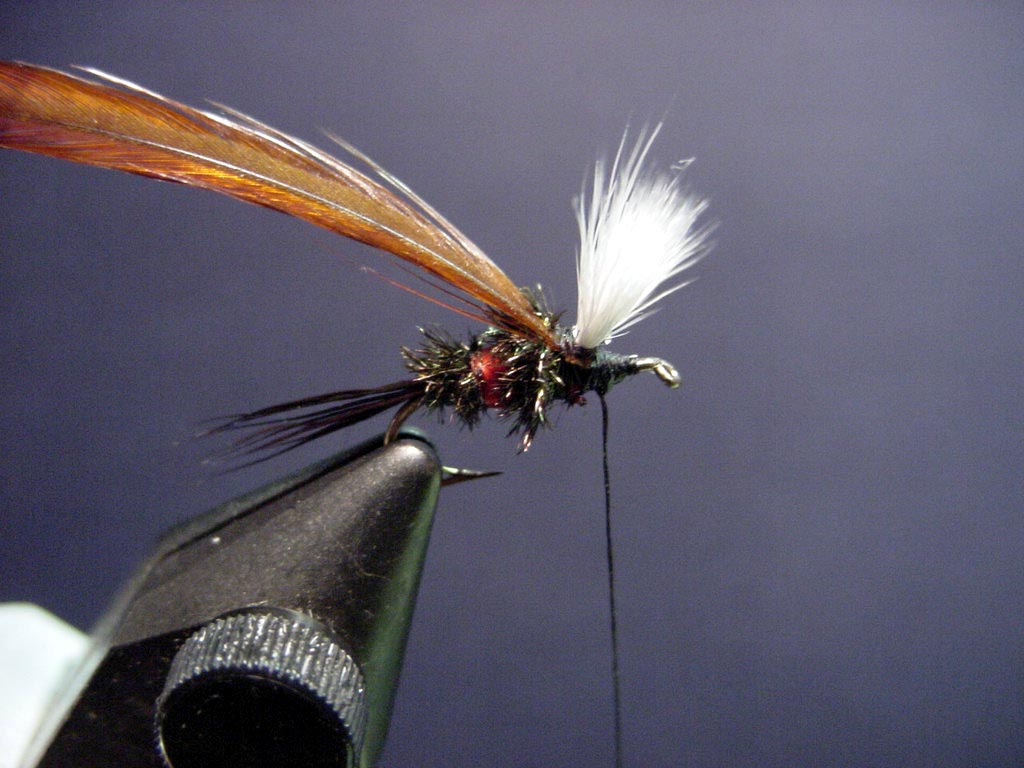 |
| 6 - Palmer the hackle forward, making several wraps behind, and several wraps forward of the wings. Tie off, trim hackle butt, and tie a half hitch. Form a head, half hitch, and whip finish. Add a drop of head cement to the thread wraps of the head. | 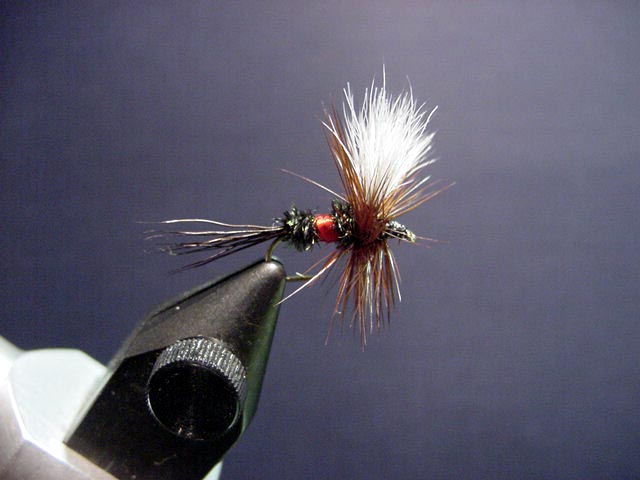 |
![]()
Copyright © 1998 - thisyear The Buckeye United Fly Fishers, Inc. Cincinnati, OH 45242
The Buckeye United Fly Fishers, Inc is a non-profit corporation organized under section 501(c)(3) of the Internal Revenue Code, incorporated in the State of Ohio for the preservation, conservation and wise use of our fishing waters and game fish; and to assist in the protection and improvement of our natural resources