|
Fly of the Month Bob Ireton brings together his experience in fly fishing, aquatic entomology, and knowledge of fly tying techniques and materials, to design and tie durable and effective flies. |
|
![]()
Volume 2, Issue 11
October 2001
![]()
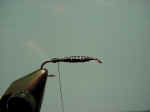
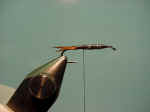
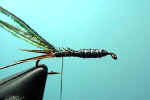
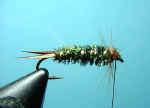
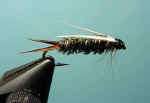
PRINCE NYMPH
By Bob Ireton
Photography by Bob Kimsey and Bob Ireton
The Prince Nymph is my very favorite all-purpose
nymph imitation. I probably
have caught more
trout on this pattern than all the other patterns I have
tried. I also have caught most of
my largest trout on this pattern.
Nymphs weren’t commonplace in the fly boxes of
trout fishermen until the 1940’s and 1950’s. Prior to then, a
variety of wet flies was
used to imitate the
immature aquatic
food forms. Now we know that
nymphs compose approximately 90%
of a trout’s diet. With this in mind, more anglers are stocking
their fly boxes with a good supply of nymphs.
This fly works best when fished right above the bottom in riffles, fast runs, and pocket water. It can be fished dead drift, down and across, but I prefer to fish it straight up, or up and across, under a strike indicator. I find size 14-18 is the best overall size. It’s hard to beat a Prince Nymph!
MATERIALS
Hook TMC 5263, Daiichi 1720, Orvis 1526, Mustad 9672 size 6-18
Thread Black 6/0 for size 12 and larger 8/0 for size 14 and smaller
Weight Lead wire, approximately same diameter as hook shank
Tail Brown goose or turkey biots
Rib Gold tinsel, or copper wire, to match the size hook you use
Body Peacock herl
Legs Brown or furnace hen hackle, size to match the fly
Wing White goose or turkey biots
TYING STEPS
![]()
Copyright © 1998 - thisyear The Buckeye United Fly Fishers, Inc. Cincinnati, OH 45242
The Buckeye United Fly Fishers, Inc is a non-profit corporation organized under section 501(c)(3) of the Internal Revenue Code, incorporated in the State of Ohio for the preservation, conservation and wise use of our fishing waters and game fish; and to assist in the protection and improvement of our natural resources
